Dogs are man’s best friends. They love us unconditionally and they deserve our attention too. It’s no secret that dogs need to be groomed regularly. Most dog owners are familiar with the basics of grooming, which typically includes brushing their fur and bathing them. But when it comes to nail care, there seems to be some debate. Go further to know How To Trim Dog’s Black Nails.
Trimming the nails of a dog is not only important for his health but also his appearance. Regular nail trim prevents your dog from scratching themselves. If you don’t trim them regularly, they will grow long and thick and also make a clicking noise whenever they walk on hard surfaces. Overgrown nails may even break and lead directly to cuts in and around your dog’s paw, which could cause additional pain.
Ideally, you should trim your dog’s nails once every three to four weeks. This will help keep their nails trimmed to a safe length (approximately 1/12 inch away from the blood vessels) and reduce the risk of injury to either you or your dog. Trimming a dog’s nails is a simple task that can be done at home. In this article, we will show you how with a bit of patience and the right tools, you can easily trim your dog’s black nails.
Also check– Top best Dog nail grinder 2022
Dog nail anatomy
Dog’s nails are made of keratin, which is also found in human nails. There are three parts to a dog’s nails, the cap, the nail body, and the quick. The cap, or cuticle, is the part closest to the dog, and it’s the part you see. The nail body is the part closest to your dog’s paw pad. And the quick is a tube inside each nail filled with blood vessels and nerves. Some breeds of dogs have different colors of nails, such as black and white.
The color of pups’ nails has a lot to do with their health. Black-colored nails are usually associated with poor nutrition, lack of exercise, or disease. Trimming black nails is a little harder, you can’t see where the quick is located. The dark nail breed includes the following dog: American Pit Bull Terrier, Bulldog, German Shepherd, Labrador Retriever, Rottweiler, and Pug. This is normal and not considered to be a health problem.
White-colored nails are not as hard to trim as black nails and you can easily see where the quick is. Therefore, these nails are easier to trim. White dog nails can be caused by many things, including genetic disorders, vitamin deficiencies, or even just being an old dog. The white nail breed includes the following pups: Alaskan Malamute, Australian Cattle Dog, Bichon Frisé, Border Collie, Entlebucher Mountain Dog, and Siberian Husky. However, it’s important to note that not all white dog nails mean they have issues.
Nail trimming tools
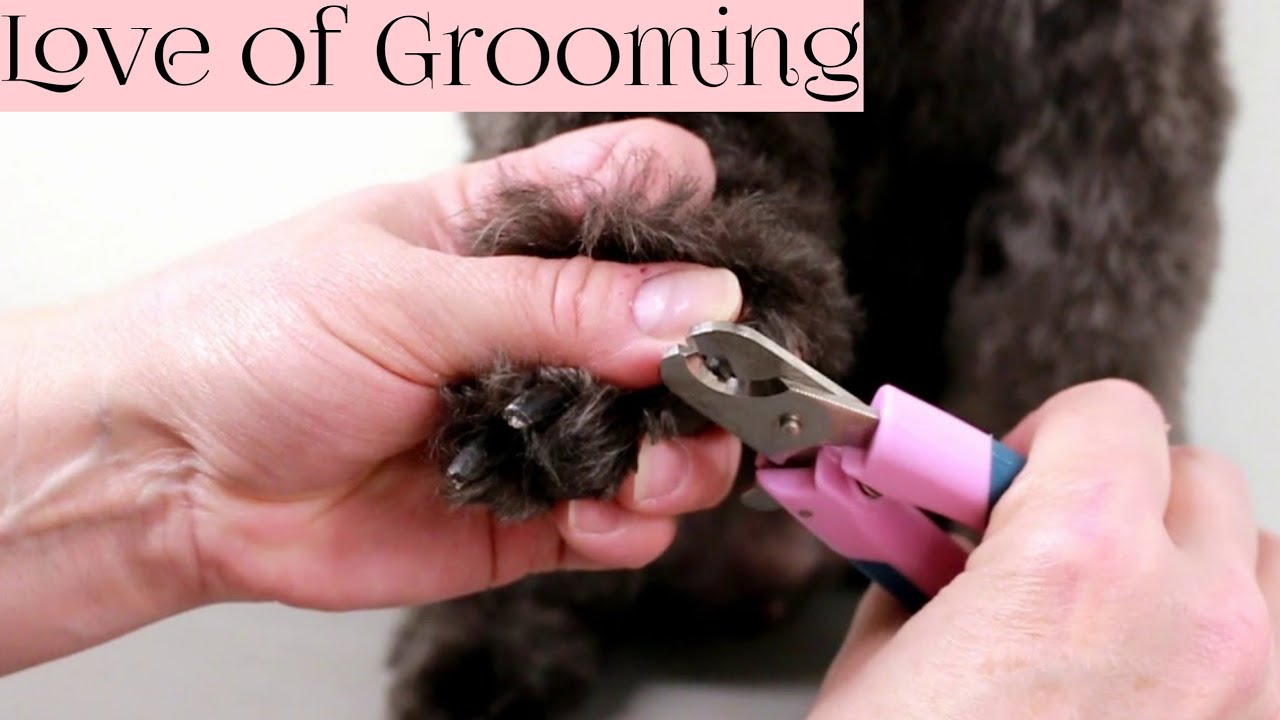
There are two ways for trimming dogs’ black nails. One is by using clippers and the other is by using grinders. While using clippers, all you need to do is to press them against the nail and squeeze your dog’s paw to cut the nail. If you are not comfortable squeezing the paw, you can press the paw on a flat surface and then put the clipper on the nails. During clipping if you’re unsure about where to make the cut, or your dog moves slightly, you can easily hurt the quick.
A grinder is a rotary tool that functions similarly to traditional clippers. However, instead of slicing through your dog’s nails with a metal blade, these tools grind the nails down using powerful rotating heads. This creates a smooth edge rather than a sharp one. A dog nail grinder is the safest and easiest way for trimming black nails as you are less likely to cut the quick. Also, it is more efficient in ensuring that the pet’s nails are neatly trimmed.
How to trim black dog nails
- First, place your dog on a flat surface. Your pup might be nervous before the procedure as some devices can go really hard on a dog’s claws. You might look for a dog nail grinder to make sure your pet is calm and doesn’t move its paws all the time.
- Then, hold the grinder firmly and gently push the tip of the grinder into one end of your dog’s nail. Make sure that only the tips of the grinder touch the nail.
- Slowly pull outwards until you feel resistance; then release the pressure. Repeat this process until you reach the other end of the nail.
- Once you have reached the other end, repeat step 2. Continue doing so until all the excess skin around the nail has been removed.
- After removing the excess skin, gently bend the nail down towards the ground using your fingers. This will help remove any small pieces of dirt and debris stuck on the nail.
- Now that you have cleaned your pet’s nail, turn it over and apply some petroleum jelly on it. This helps keep the nail moisturized and soft.
- Then smooth the edges of the nail. Don’t worry if you see any white spots. These are just natural blemishes on your dog’s nails.
- Finally, trim the remaining part of the nail. It is best to trim the nail close to its skin base.
What to do if you cut the quick
If your dog has black nails, it’s tough to see where you’re trimming. You don’t want to cut the quick (the pink area inside the nail) as the nail will start bleeding and it’s very painful for your dog. The quick is always a darker area within the nail.
If you accidentally cut into it, then stop trimming. The first thing you’ll want to do is get some clean paper towels or washcloths and hold pressure on the nail for two to three minutes. Then gently apply the styptic powder directly onto the nail, it helps to clot the blood. Take a pinch of styptic powder on your finger and put it on the end of the nail. Apply pressure until the blood flow ceases.
How to get your dog comfortable?
The first step is to introduce your dog to the nail trimmer. Show your pup the tool and let them smell it. Allow them to explore it on their own, and don’t force them to touch it if they’re not comfortable. If your dog seems scared of the nail trimmer, try rewarding them with a treat when they come near it.
The next step is to start trimming your dog’s nails slowly and gradually. Only trim a small amount of the nail at first and don’t go too close to the quick. If you are unsure of where it ends just trim a tiny bit at a time until you reach the pink part of the nail. As your dog gets more comfortable with the nail trimmer, you can cut a little more at a time.
Tips on trimming your dog’s dark nails
Make sure you have all the things you need ready before you begin this including your nail grinder, your dog’s favorite treats, styptic powder or some corn starch, something to help stop the bleeding if you accidentally cut your dog’s quick and someone to help hold your dog and keep them calm.
Make sure there is a non-slip surface such as a yoga mat or a towel so that your dog can stand on it. Standing on a non-slippery surface makes it easier for your dog to stay steady during nail trims.
Take breaks between each paw and especially if your dog is a beginner. It takes some time for a dog to get used to having its nails trimmed, so be patient. If your dog becomes upset, let them calm down by giving them lots of attention and petting.
It’s best to start trimming your dog’s nails when they’re young. Even if they’re too little right now, give them the opportunity to get used to the idea that their feet are being handled. Introduce them to the smell, feel, and even sound of a grinder or clippers to build their trust. In this way, when they are old enough for regular trimmings, they will not be frightened of the procedure.
Conclusion:
Dog nails grow quickly and sometimes get longer than we think. But, there are ways to prevent your dog from long nails. When it comes to trimming your dog’s black nails, you should know how to do it properly. With these simple steps, you’ll be able to trim a dog’s dark-coloured nails without causing any pain or discomfort. I hope you like reading on How To Trim Dog’s Black Nails.